So What’s A Pre-Drywall Meeting All About, Anyways?

Whew, this post is long overdue but here we go! We finished our Pre-Drywall Meeting two weeks ago and are moving on in our home building process! If you’re reading along to prepare for your own home building process, be sure to check out my posts on the Preparing For The Design Center and What To Expect At Your Pre-Construction Meeting—or catch up on all of my posts about the home building process!
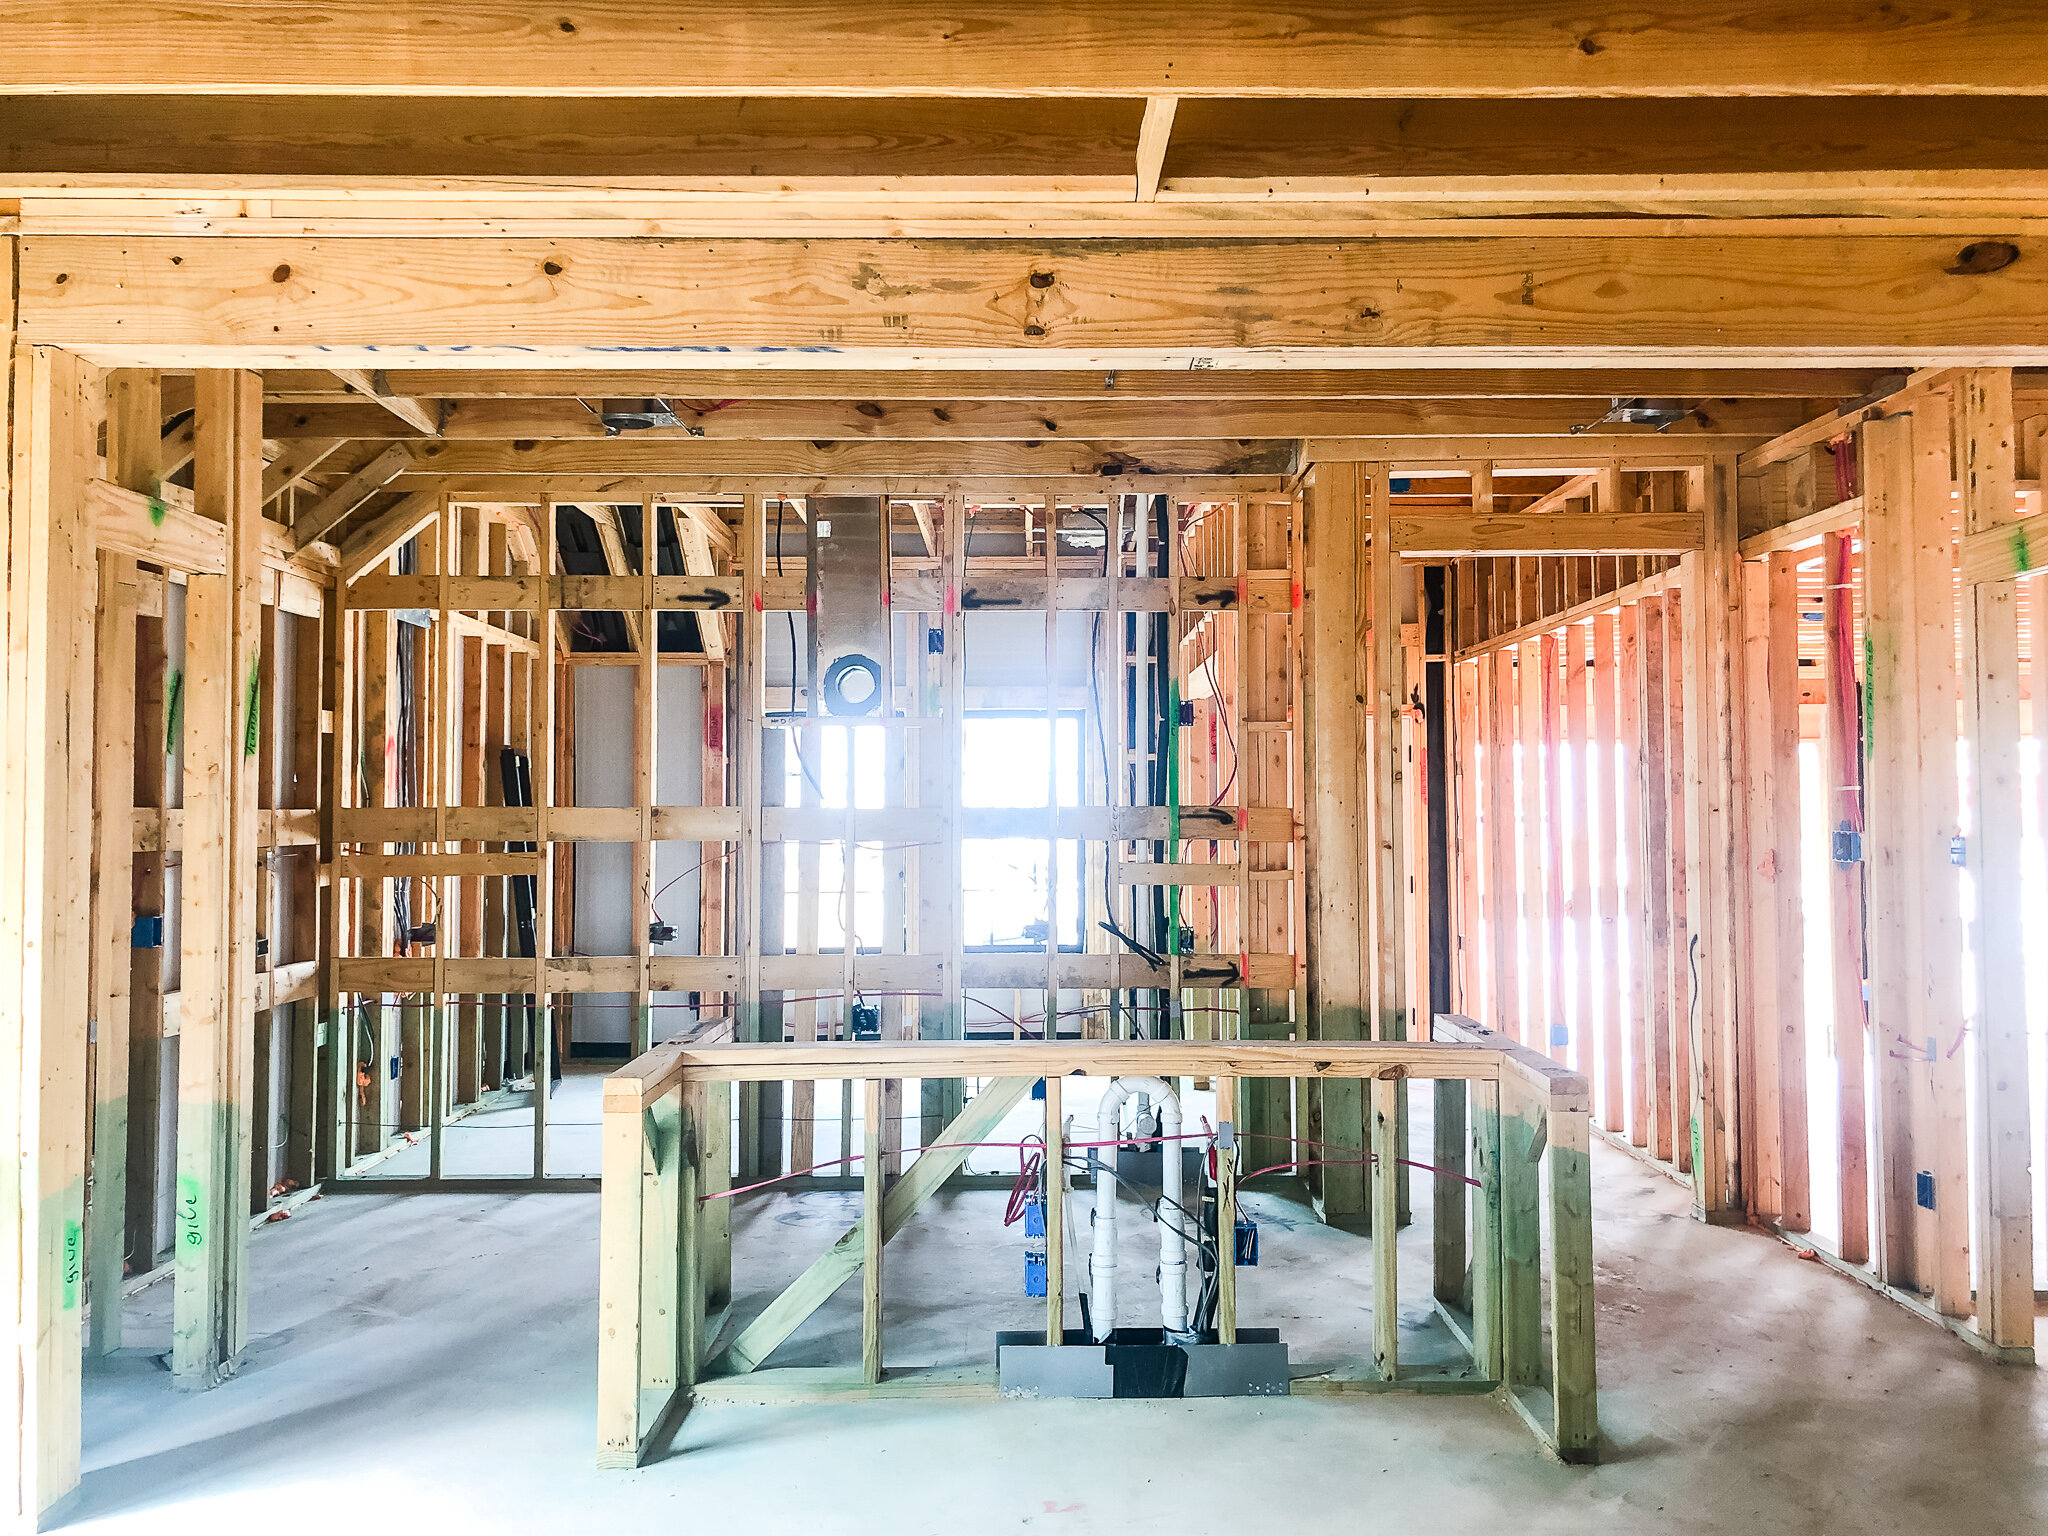
Your pre-drywall meeting is just what you think—the meeting before all of your drywall goes in. You’ll be walking through the house at its framed stage—complete with wall studs, roof, electrical, and plumbing. You’ll have plenty to do and look during this stage, so here’s what you can do to prepare!
what you should do before the pre-drywall meeting
FINALIZE DESIGN PLANS WITH YOUR BUILDER
Just like I mentioned in my pre-construction meeting post, now is not really the time to be making design changes. The homebuilding process moves in phases/stages and certain changes can only be made in the early phases because materials have to be ordered, installers scheduled, etc. By the time you get to your pre-drywall meeting, it’s very likely that you won’t be able to make any changes to your home’s design—even if you are willing to pay a change order fee. Be extra specially positively sure that you’ve made all the upgrades and selections you want before this point.
SCHEDULE A THIRD PARTY INSPECTOR
Your builder will have their own inspectors check out your home to make sure everything was done properly and to code, but I think it’s really important to have another set of eyes on it—a set of eyes that YOU hire, not the builder. Having a third party inspector come out and look at your home isn’t required, but I highly recommend it! As you walk through the house in its framed state, chances are you won’t know exactly what you’re looking at 100% of the time. You probably don’t know which order the flashing tape is supposed to be applied or which areas require fireblocking—I didn’t know either until our inspector explained it to me!—so it’s great to have someone there that actually knows what to look for.
Luckily during our walkthrough, our inspector only found very minor, nit-picky issues and was super impressed with the quality of work and materials in our house—way to go, Ashton Woods! Now we can sleep peacefully knowing that the house is absolutely structurally sound, built correctly, and the proper steps were taken to ensure its longevity. Having your own inspector there to double-check your builder’s work can really save you from major (or minor) problems later down the line, so it’s totally worth it in my book to spend the money on an inspection. I like to look at it as an investment in our home’s future and a way to prevent more costly repairs.
If you can, try to schedule your third party inspection to happen before your pre-drywall meeting. Make sure you clear the inspection with your property manager first so that they’re aware of the inspection and know not to schedule any work to take place during that same time. By having the inspection done before your pre-drywall meeting, your project manager will be able to fix and address any issues the inspector finds and show you that it’s been corrected during your meeting. If you can’t get an inspector out ahead of time though, no biggie! We did our pre-drywall meeting in the morning and our inspection in the afternoon on the same day and all was fine. Your builder is required to fix any issues the inspector finds, so as long as you’re using a reputable builder, you shouldn’t have to worry about the changes being made.
HAVE YOUR HOME PLANS READY
Print out or download a copy of your home’s plans to your tablet. You’ll want to reference these as you go through the house to make sure everything is where it should be.
what to do during the pre-drywall meeting
CONFIRM SPACING, PLACEMENT, MEASUREMENTs, and selections
As you walk through the home with your project manager, they’ll point out where all of your electrical is located—ceiling fixtures, fan blocking, light switches, outlets, everything. I found it really help to reference my electrical diagram as we walked through the house and check off each item as it was mentioned. We added a few extra pendants, outlets, and sconces in some places so having my selections sheet during the walkthrough gave me peace of mind that nothing was missed or forgotten.
In addition to checking electrical, make sure any other structural and additional selections you made are accounted for as well. Did you add a bump out to your garage? Speak pre-wire? Raised ceiling height? (ugh, I totally wish!) Be sure that anything you paid for—this includes the options that came standard!—are correct. Count your windows, check the door height, and ask questions if something doesn’t look the way you expected! Your builder is most likely working on a lot of houses at the same time, so sometimes small details get missed. It’s much better to bring up any questions you have now, rather than to let it become a hard-to-fix issue later.

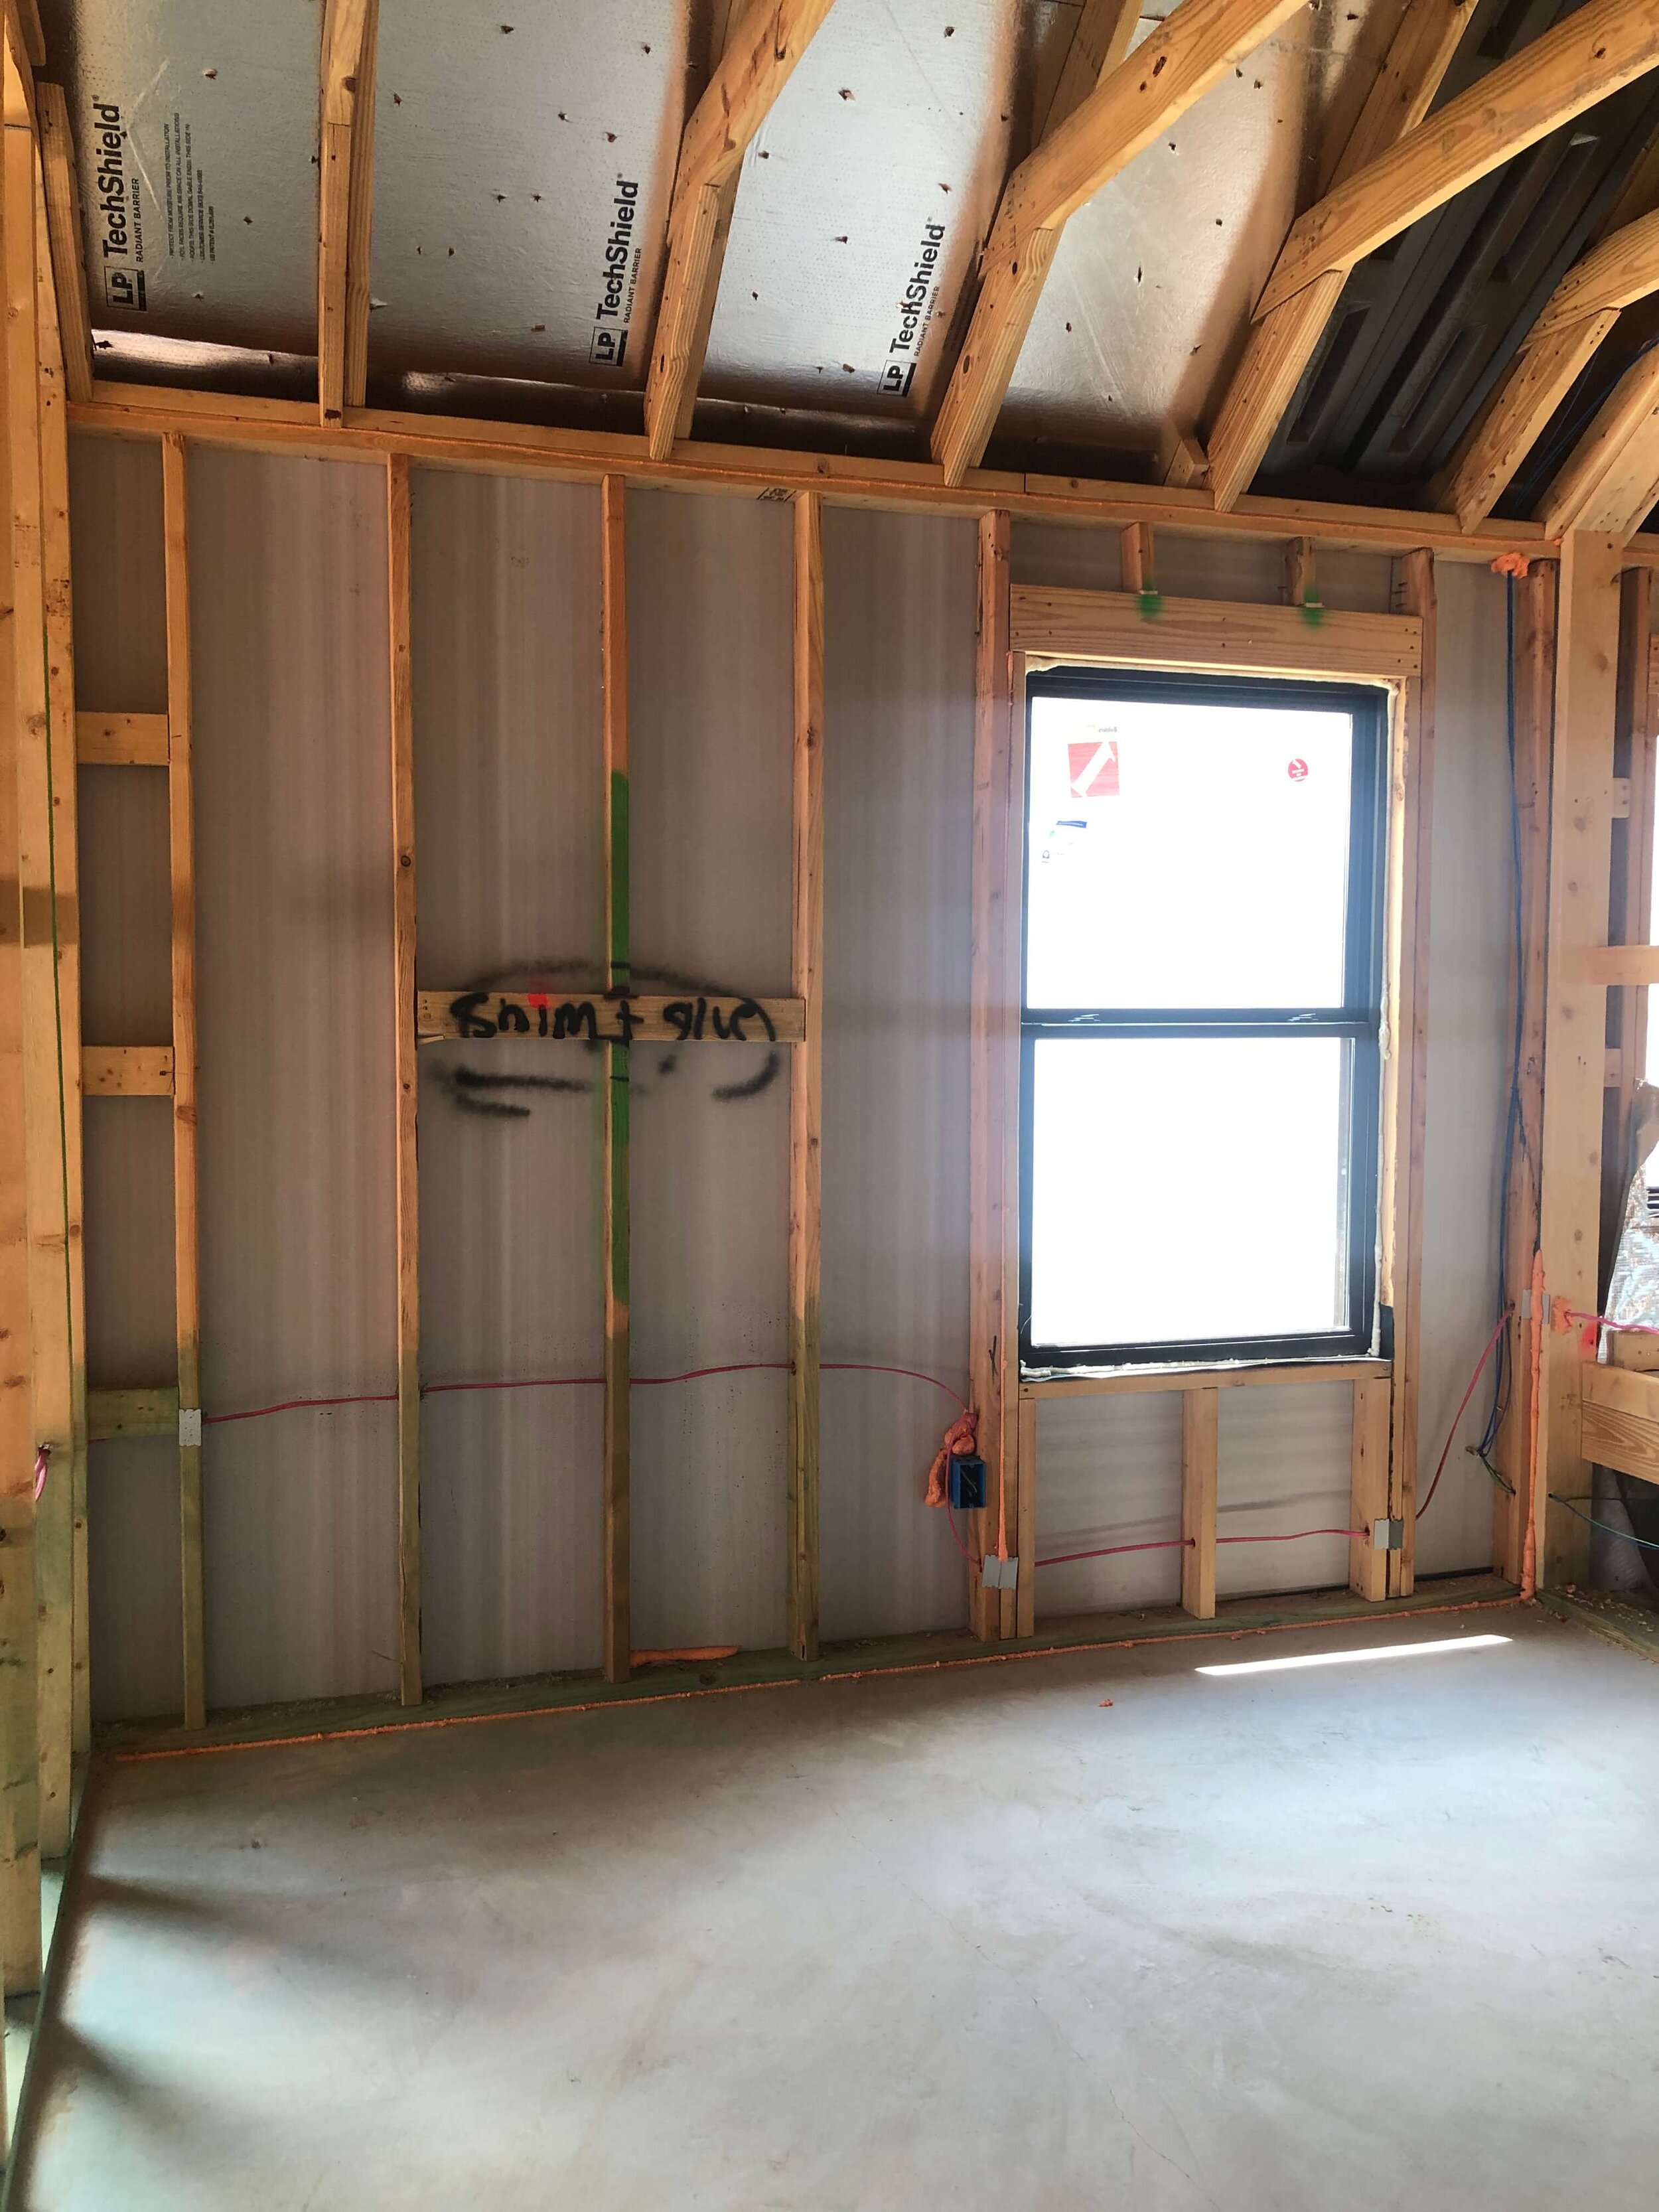
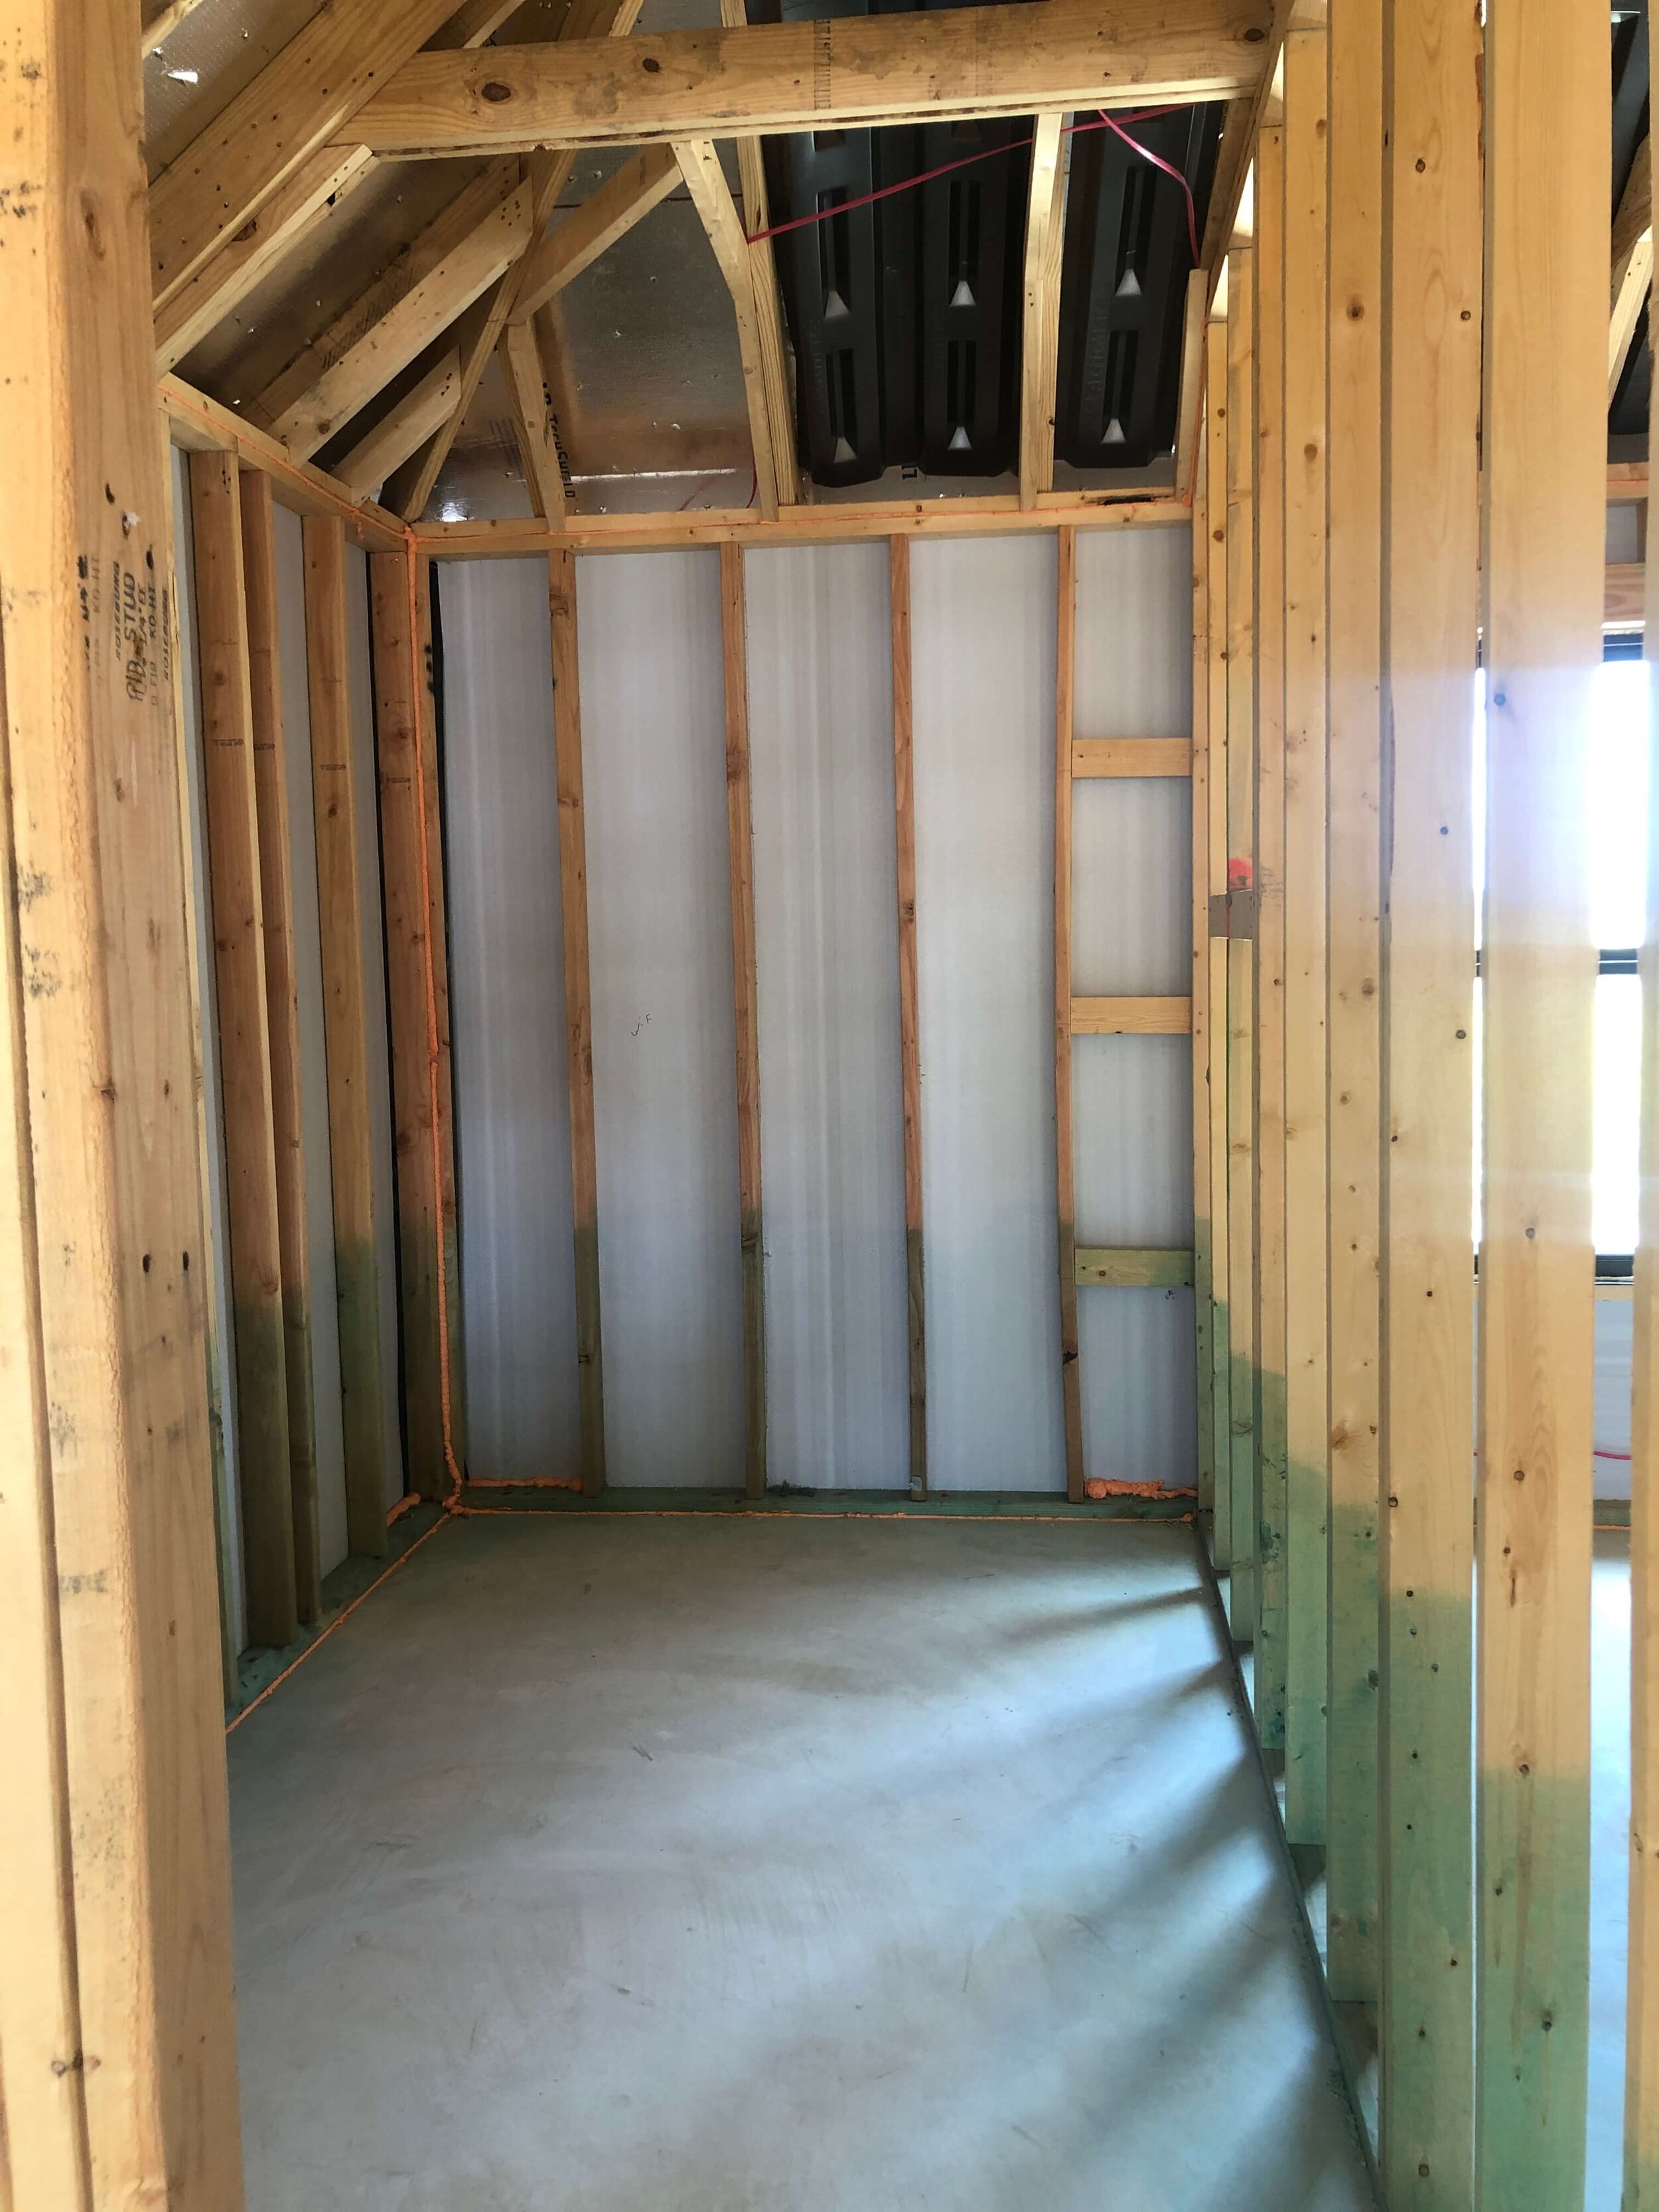
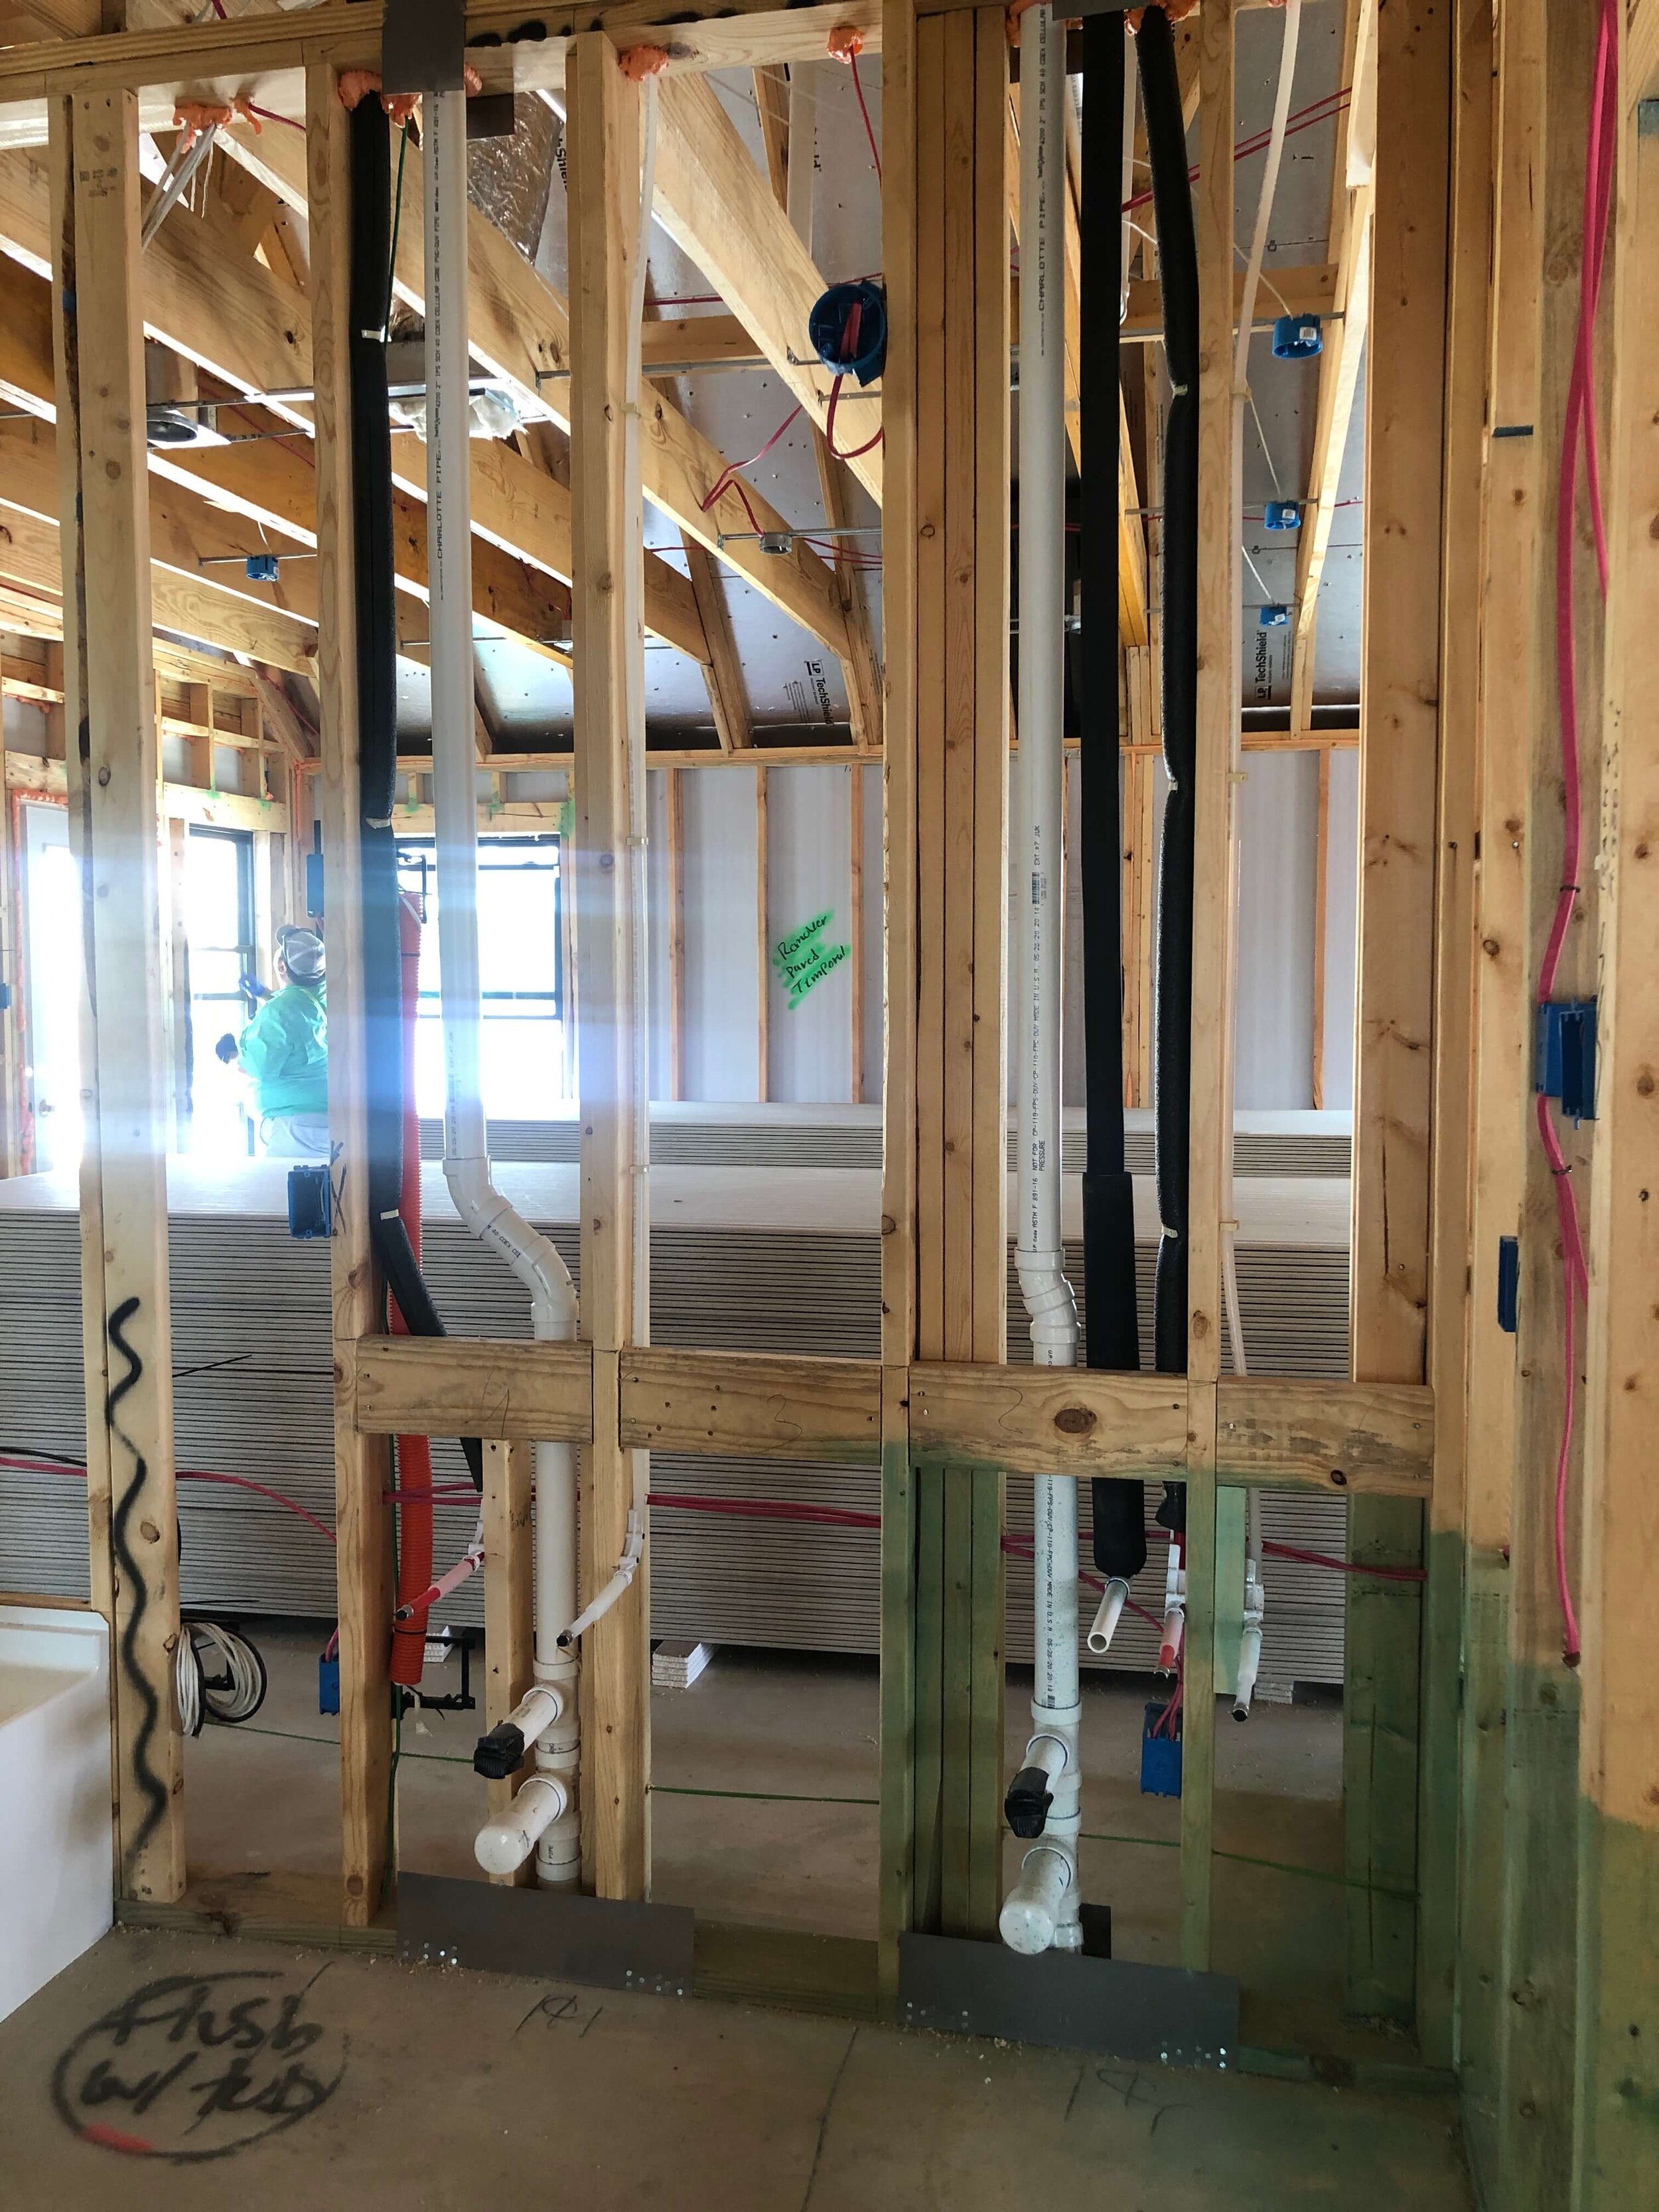
TAKE PICTURES OF ALL OF YOUR WALLS AND CEILINGS
Since you can literally see through all of your walls at this point, it’s a great time to take pictures for reference. Start at the front of the house and go room by room taking pictures of every wall and ceiling. These will come in handy later when you want to hang a shelf or install a light fixture later and need to know where the studs are. It’s also nice to be able to see where the plumbing and electrical wires run inside the walls to that you don’t accidentally drill into them later! Save the photos to your computer and rename them (ie. Guest Bedroom - Left Wall) to make the pictures easy to reference.
MEASURE FOR FURNITURE
Now that the walls are (kind of) up and the house is empty, take measurements if you need to! Our builder doesn’t provide room measurements for any of their floor plans, so I had to find a way around that. I explained in this post how to use the virtual walkthrough on the website to get accurate room measurements, but if that’s not an option for you, grab a measuring tape! Some helpful dimensions to know besides the size of the rooms, are the widths of the doors, hallways, and stairs. You don’t want to get caught struggling to get your brand new sofa in the house because it won’t fit through the front door!
WHAT QUESTIONS SHOULD YOU ASK YOUR BUILDER?
Just like during your pre-construction meeting, you should ask any and everything that comes to mind. Some of the questions we asked during our pre-construction meeting didn’t have answers yet—like the type of fence we would get or which side of the house the AC unit would be on—because the community was still so new. We followed up with our project manager during the pre-drywall meeting to get more up to date information.
Your project manager should go over the schedule for your home build with you, but if not, be sure to ask for the latest projected timeline. Depending on how things have gone up to this point, your closing date may be sooner or later than originally anticipated. For example, our black windows delayed our closing date a week because they had to be custom ordered and took longer than expected to arrive. But on the flip side, our neighbor across the street was given an anticipated close date in early December when he signed and will now probably close in September! So much can change throughout the build process so be sure to stay on top of how things are looking and the progress on your home.

what’s next?
After your pre-drywall meeting, your home will have to go through a series of more inspections to be sure it’s ready for the next phase. This part can feel very slow because you can’t physically see any changes happening in your home. But, the work behind the scenes will be more than worth it going forward. After your home passes the inspections, the insulation will go in, walls go up, and you’ll get too see your design selections come to life! Remember those home plans you used during the meeting? Keep those handy over the next few months to use as a reference as things inside your house start getting installed. It’s much easier to make any needed adjustments if mistakes are caught early on, so having your selections sheet on hand will be super helpful.
Happy homebuilding!