Our First DIY For The New House: Reupholstered Barstools!
Our first DIY for the new house is officially complete! I’ve wanted to get rid of the chrome look on our barstools since the day I brought them home, but that’s what looked best in our apartment(s) so it stayed. Here’s how the barstools looked in our last apartment—and honestly the chrome doesn’t look half bad. It worked well with how light and bright the space was and matched the other silver accents nicely.

Our new kitchen though, has more of a moody vibe with almost black cabinets and brass accents. As much as I really wanted to snag some new barstools (#allneweverything), barstools are freaking expensive y’all. With all of the other projects and updates I have planned, new barstools just were not in the budget.
On top of that, if y’all only knew how picky Ira is when it comes to barstools. He’s usually pretty okay with whatever I pick for our home, but when it comes to barstools, he’s like a girl picking out her senior prom dress—he’ll nix even the best option over the tiniest detail! The barstools we have were honestly a Godsend because we got them for free from a friend and they were a style we could both live with. So I gave them a quick refresh with some spray paint and new fabric and now they’re absolutely perfect for our new home!
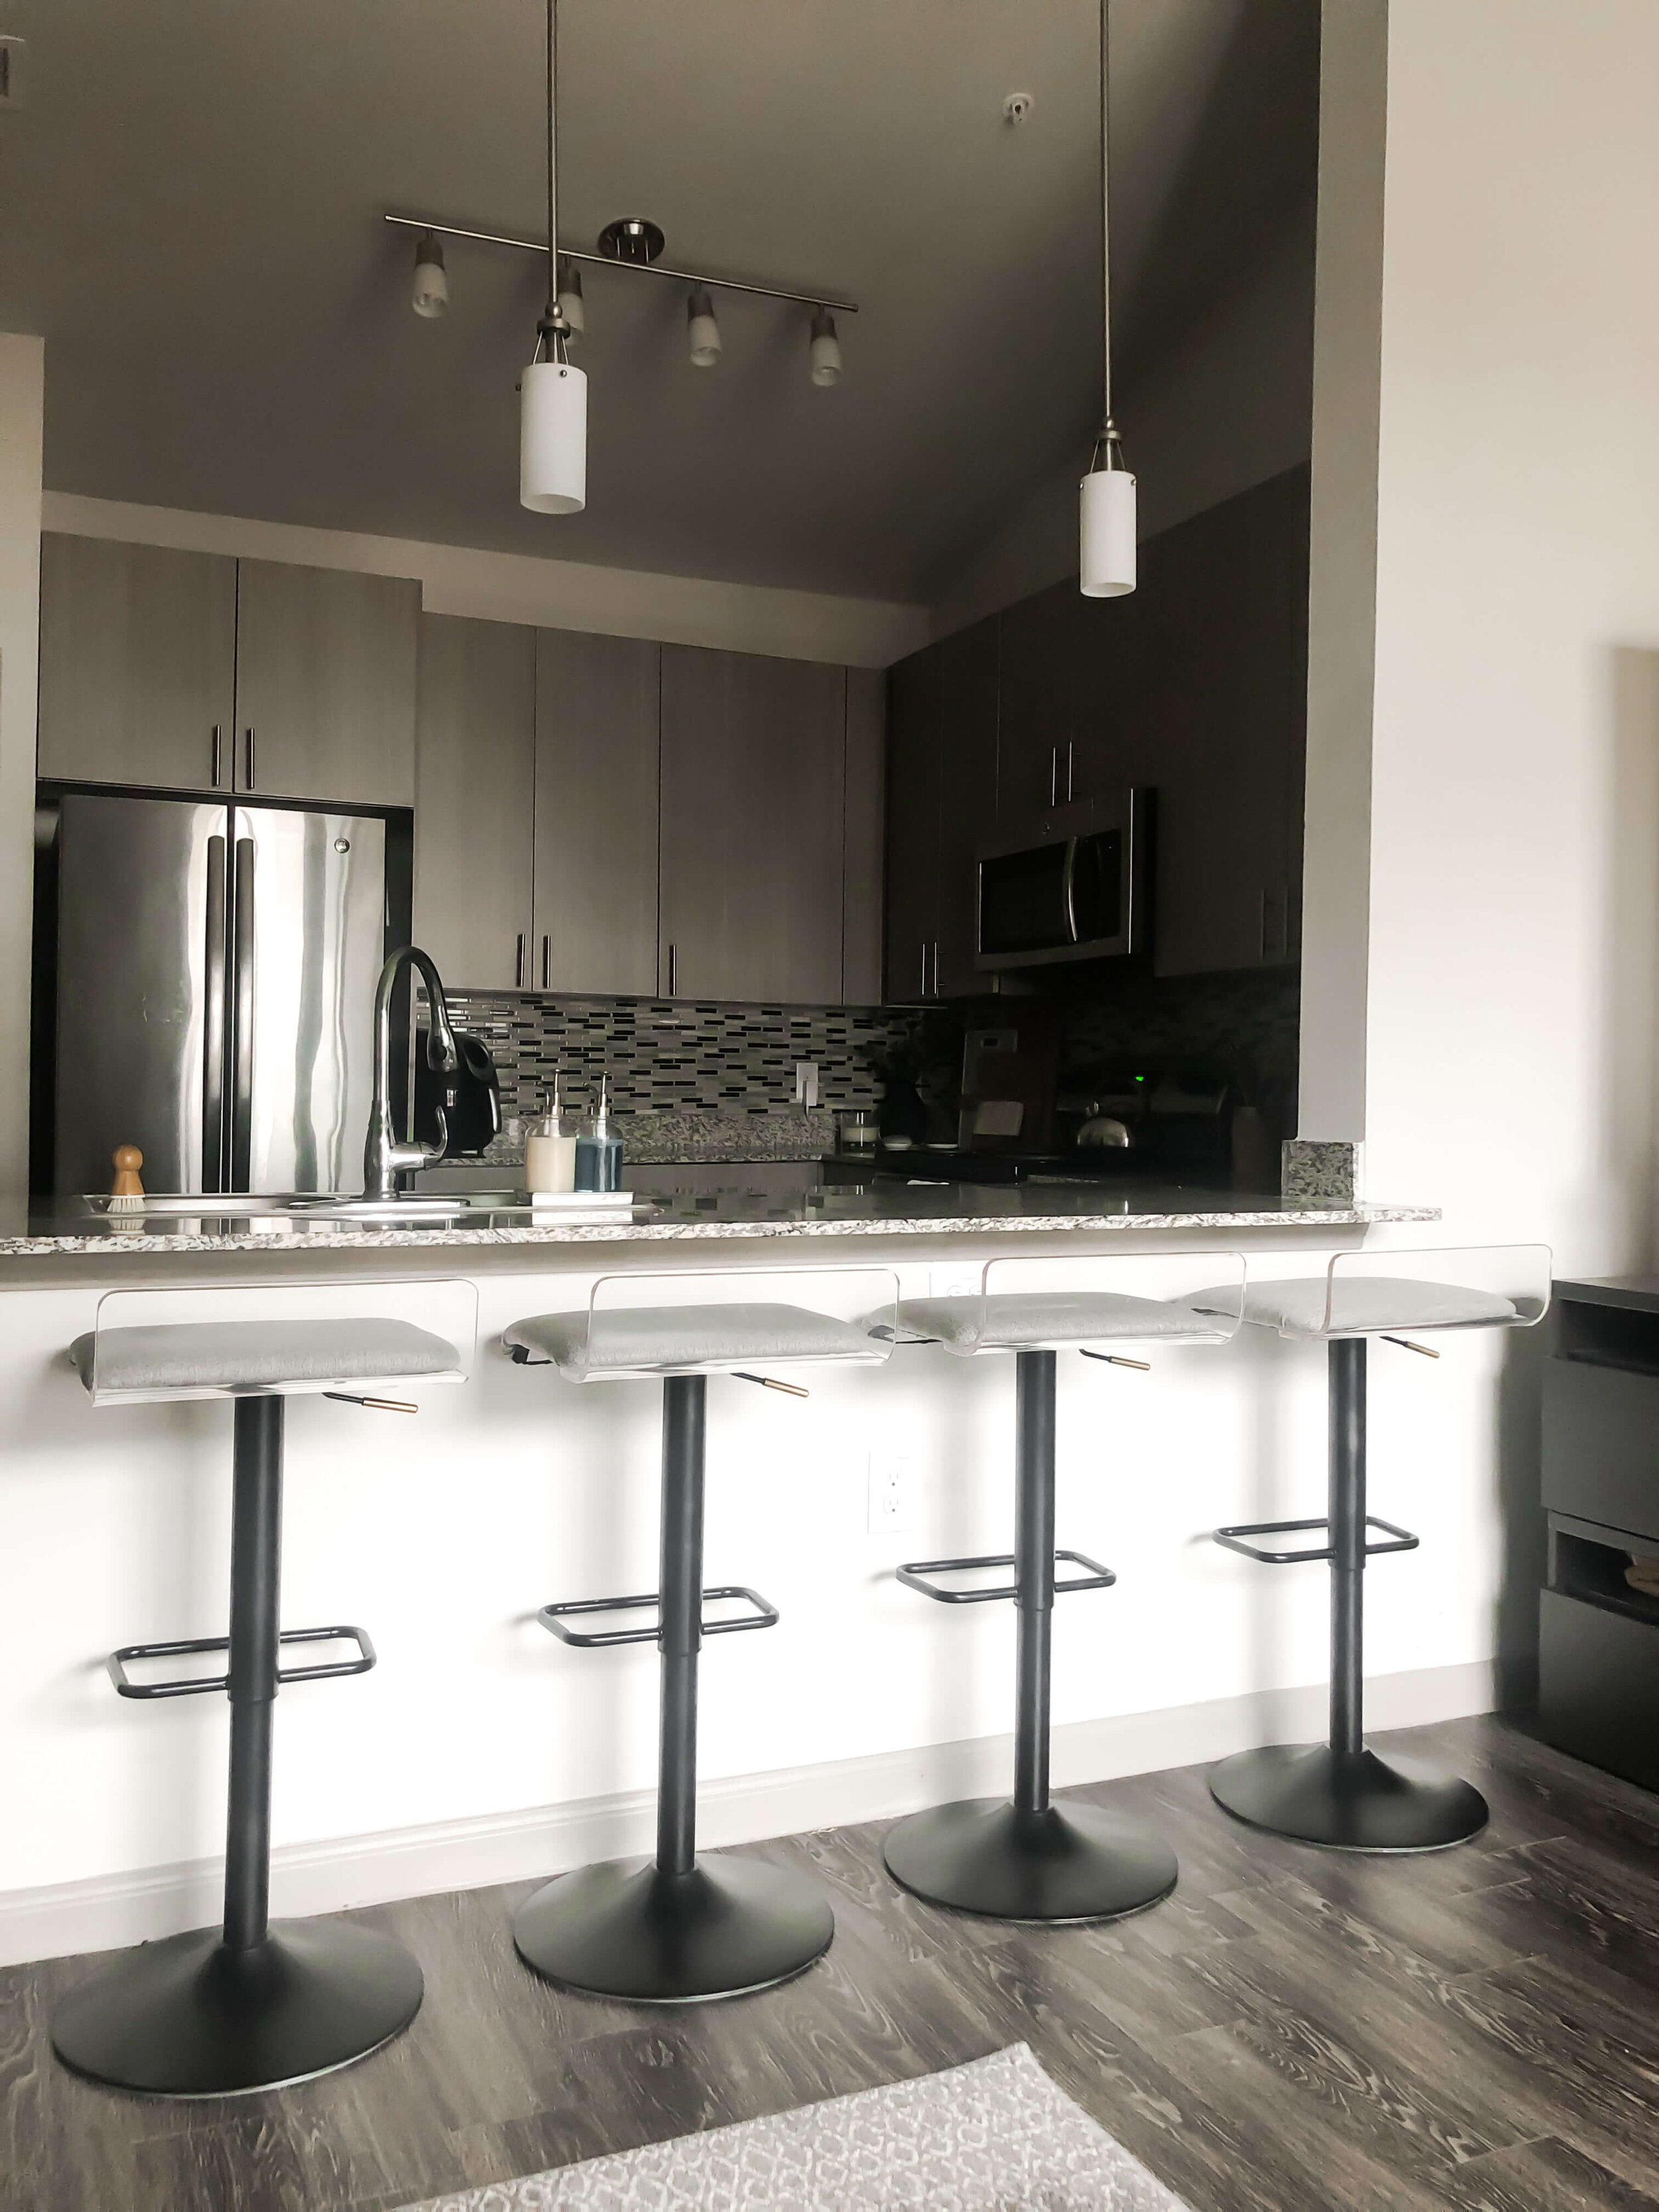
Aren’t they puuurdy?! The matte black and subtle brass detail is going to look SO good in the new kitchen—I know because it already looks great in our apartment! This was a super easy DIY and definitely one you can tackle in a single weekend. Keep reading to see how gave these barstools a whole new look in just 5 steps!
You'll need:

Unfortunately I can’t find our exact barstools anywhere online, but the one above are pretty dang close! They’re also super affordable which is always nice, especially if you’re just using them as a starting point and plan on giving them a makeover anyway!
[ 01 ] Remove the seat, back, and lever

Flip the barstools over and you’ll notice a set of screws along the bottom that hold the seat and back in place. Remove all of the screws and set them aside. Even if you have different shaped barstools, you should still remove the seat before spray painting. This will help prevent overspray on the fabric and ensure a nice even coat on the entire base frame. The hand lever part of my base was also able to detach, so I unscrewed that too
[ 02 ] Spray Paint The Base

Make sure the base is completely clean before you begin. The spray paint won’t bee able to stick to grease and any debris will leave a slight texture under your fresh coat of paint. I used Clorox wipes and Windex to clean mine, but I’m sure any household cleaner would do the trick. Use a paper towel afterwards to get the base completely dry.
In a well ventilated space, lightly spray paint the entire surface of the base. Be sure to coat the surface completely and try to get every angle with a nice thin, even layer. Let the base dry completely and then follow up with a second coat. I spray painted mine outside on a warm day and by the time I finished the first coat on all of them, the first barstool was dry enough for round 2. After the two coats are dry, add a matte finish top coat to help seal the paint on the metal and prevent it from scratching.
materials used: Matte Black, Matte Top Coat
[ 03 ] Spray Paint the Lever

I wanted to add a small touch of brass to help tie the barstools into the rest of our soon-to-be kitchen, so I opted to spray paint the hand lever a light gold color. Because they’re so small, it was a little tough to figure out exactly how to spray paint them, but I discovered they for perfectly on the end of a straw! I set up a small spray painting station and knocked these out in about 5 minutes.
Materials used: Metallic Gold Spray Paint
[ 04 ] ReUpholster the Seat
Before reupholstering, you will need to remove the old fabric. Flip the seat over and remove all of the staples holding your fabric in place. If your seat has that thin black, dust cover fabric on it, you’ll need to remove that first and then set it to thee side to reattach at the end. Once all of the staples are out, you should be able to remove the fabric.

Use the fabric as rough guideline for how much new fabric you’ll need on the seat. My seats are pretty square, so I used 24x24” squares of fabric and trimmed off the excess when I was done. It’s always best to have a little extra fabric to work with and trim it off later, rather than to try to fight and stretch fabric that won’t quite wrap the entire width of the seat.
Unfortunately I’m a terrible DIY blogger and didn’t get complete photos of this next step, but it’s a simple as wrapping a present! Lay your fabric facedown with your seat cushion on top of it, padding side down. I like to start by stapling all around the sides of the seat first and then doing the corners last. Pull the fabric completely taut so that there’s no ripples or folds and staple it around the perimeter of the wooden seat.

For the corners, there’s two ways you can tackle them:
Option A (this is what I did): Pull the flap of corner fabric little by little so that it rounds the edge of the seat nice and smooth. You’ll want to staple as you go, putting the staples about 1/2 an inch from the edge of the wooden seat. Cut the excess off after you staple everything.
Option B: Fold the fabric in the corner as if you were wrapping a present, pull it taut, and staple. This can give you kind of a cute, more detailed look, just be sure to fold each side the way (front to back or back to front)

After stapling down the fabric on all of your seats, lay you dust cover back in place and staple that on as well.
Materials used: Staple Gun, Fabric (from joann)
[ 05 ] Reassemble The STool

Screw the lever, seat, and back onto the base and you’re done! Easiest DIY ever and it only cost me about about $25 bucks for the spray paint and fabric (I already had the barstools and staple gun)! MUCH cheaper than buying brand new barstools and I got to make them look exactly how I wanted. Be sure to tag me on instagram #KSHDIY when you spruce up your own barstools—I can’t wait to see the transformation!